


I loved the 7 day challenges you have every year. They make you practice what you have learned. Its one thing to learn how to do things in case of emergencies but another to actually do it. I've learned I can bake bread in my grill, take a shower with very little water, entertain myself and family without electricity ... There are so many things I have learned that I can't mention them all. Thank you.
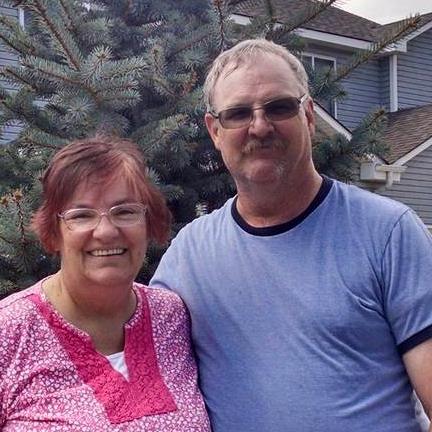
Tim & Sherrie
I was searching for survival skills and what to put in an emergency pack when I found your baby steps. I bought the rolling pantry can shelves from you and then a solar oven. I kept going back to your website as my favorite for information, lists, and products. Now that you are doing videos I enjoy watching them live on Facebook as I get to participate and ask questions.
Cruces B.
Wow...I can't say how much the book, 'Food Storage Made Easy', the active facebook group and Jodi and Julie's newsletter have helped me so much with my Emergency Preparedness journey. Their information has been priceless, their tips and tricks so welcomed for this homestead prepper. This has become my go-to for all things food storage related. Every day I look forward to more helpful information from these two ladies.
Nancy B.
Pin to Save for Later

 Hi there! I’m Jodi. I share my preparedness adventures via the blog and social media so you can see what I’m working on day to day.