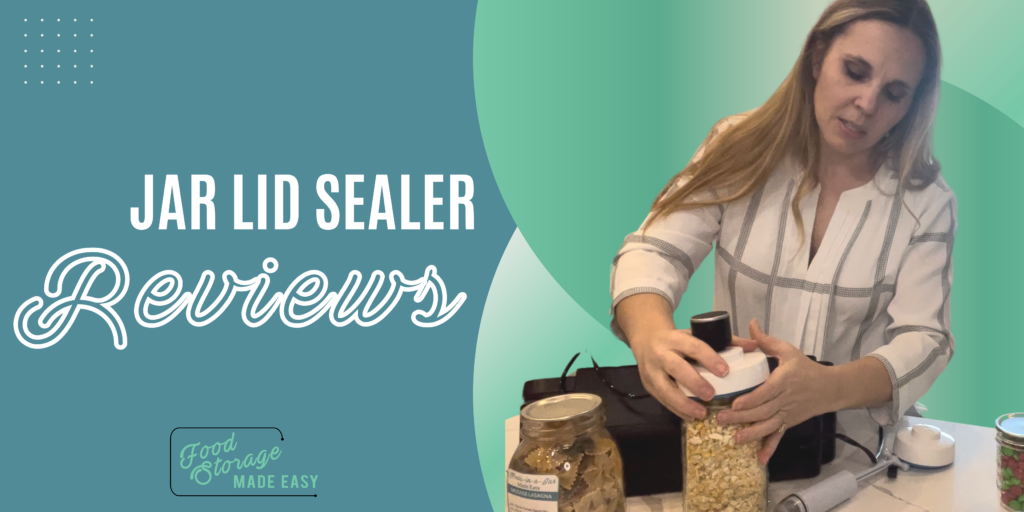
There are several ways to extend the shelf life on the dried goods you are storing. It’s best to store in a cool, dry, dark area (like a cold storage room) and to remove oxygen from your containers if possible. I store a lot of foods in mason jars and have tested several jar lid sealer units to figure out what one works best for me.
One of my favorite ways to make sure I have healthy dinners on hand for a short-term emergency is to store meals-in-a-jar. It is a fun concept and you can make all kinds of different meals. Without removing the oxygen from the jars I get about a 1-2 year shelf life on them. However, by using oxygen absorbers or a jar lid attachment you can extend that to 6-7 years! Watch my video below to see how it’s done.
Full video review

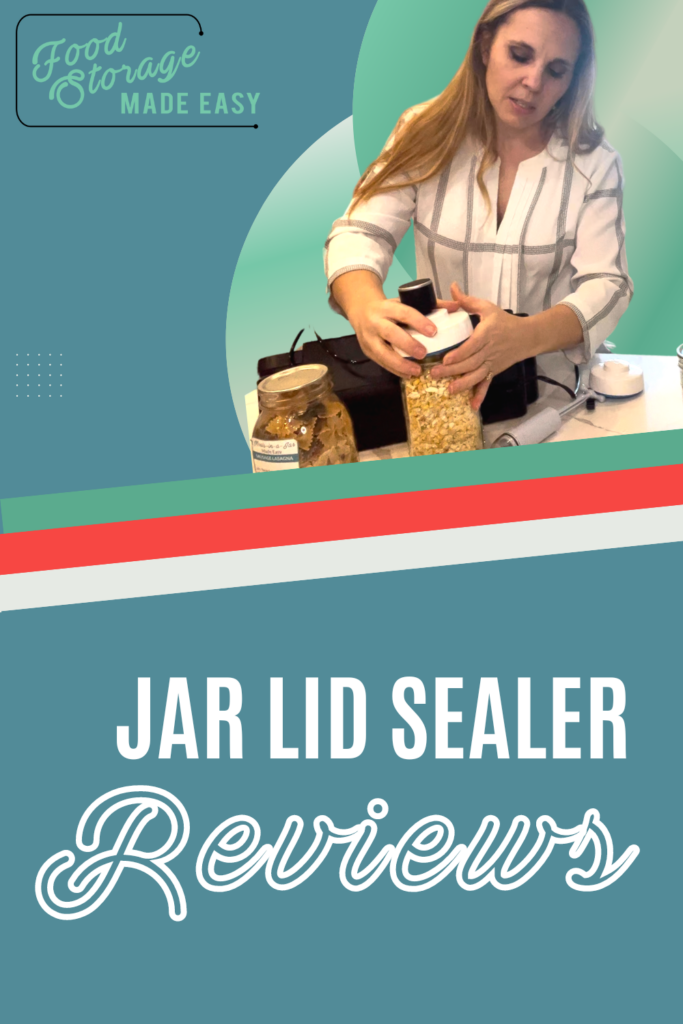
As show in the video I tried out three different ways to remove the oxygen from my jars and seal them. I used a Foodsaver jar lid attachment, a manual pump, and an electric pump. I’ll share my thoughts on each of the options below:
Foodsaver Jar Lid Attachment
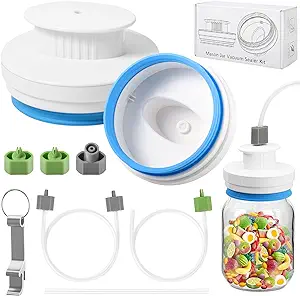
The first jar sealer I purchased many years ago is this simple jar lid attachment for a Foodsaver. They used to be quite a bit more expensive and were only available from the Foodsaver website. Also, you had to buy both wide mouth and regular mouth separately. It’s soooo nice that most of the kits come with both sizes and are about 1/3 the price that I paid a few years ago. This method is great if you already have a Foodsaver. Most units have an accessory port that will attach right to the attachment. In about 10 seconds you can easily remove all of the oxygen and seal the jar. However, one little downside is that you wouldn’t be able to use it in a powerless emergency. But if that isn’t important to you this is a great little tool.
Click here to purchase a wide and regular mouth foodsaver jar lid sealer attachment.
Manual Pump Jar Sealer
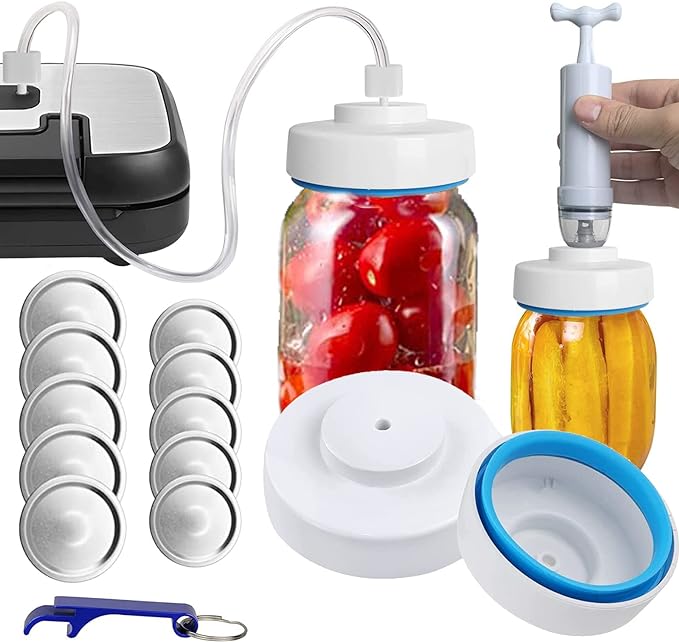
If you want to seal your jars but don’t have access to a Foodsaver this is a great little kit. Also, it’s great to have a manual option for when the power is out. The manual pump works well, you just line it up with the hole on the lid and give it a few pumps. Then once it becomes difficult to pump you know that the oxygen is removed. Then you simply pop the lid off and it will be sealed! This kit is only a little more expensive to have the manual pump included and also contains 5 of each size of lid.
Click here to purchase a set with the manual pump jar lid sealer.
Electric Lid Sealer
The electric lid sealer is one I just barely got to review since I thought would be easier than the manual pump and doesn’t require a Foodsaver. It is great when it works like it’s supposed to. However, I had a bit of a hard time pulling the machine off of the jar without just popping the lid right back off of my jars. This was mostly a problem with the wide mouth jars. When I was testing the regular-mouth jars I really liked how easy it was to just pop it on and push a button. So If you want to store one little unit this could be a great option for you.
Click here to purchase electric jar lid sealer
Sealing Meals-in-a-Jar
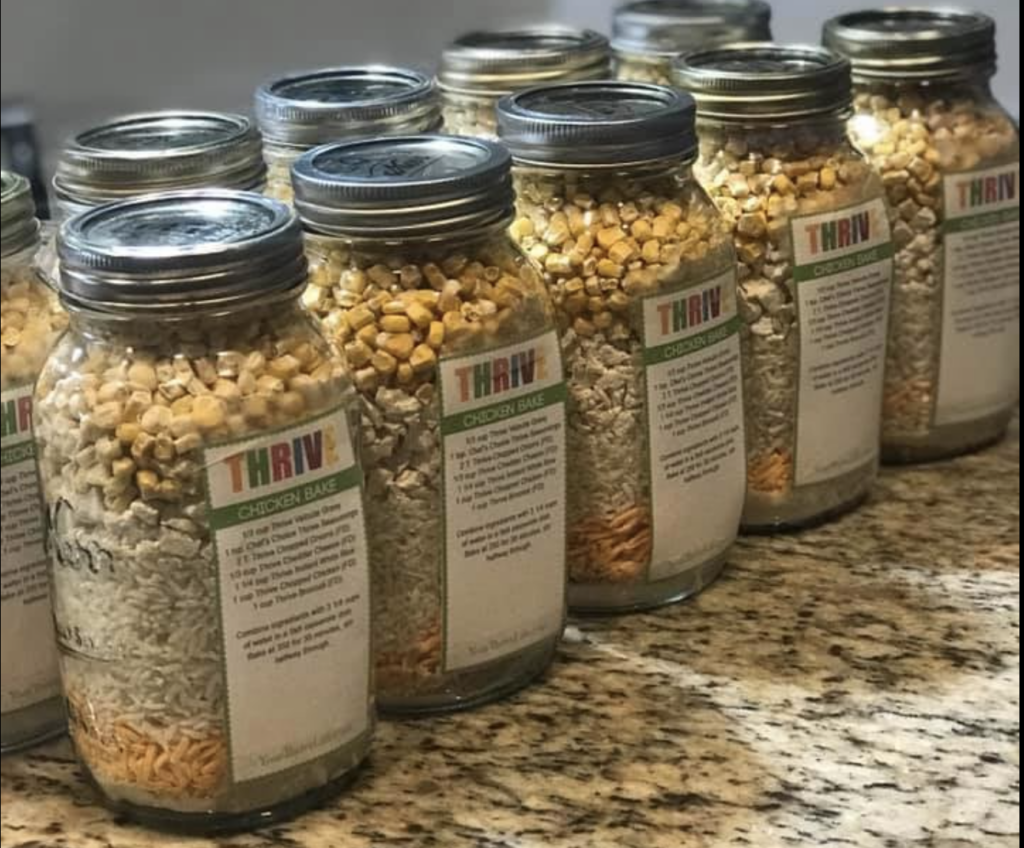
I like to make my jar meals in batches of 10 as it’s the most cost effective method plus it saves time. Having a great jar lid sealer makes a big difference for me in preserving that shelf life. Just in case I can’t get around to rotating all of the meals within a year. This is a yummy Broccoli Rice Chicken Bake that was one of the first jar recipes I ever created. Make sure to subscribe to my monthly recipes by clicking the banner below. I will send you a new meal-in-a-jar recipe FOR FREE every month!

Save this article on Pinterest!

-Jodi Weiss Schroeder
http://foodstoragemadeeasy.net

