Want to make the most out of your shelving space but don’t have room for a large rotating can rack? Building your own rotating can rack (or a set of them) out of cardboard may be the perfect solution for you! These can be customized for different can sizes and if you are really creative you could make them the perfect size for your shelves.
If you have made or end up making any of these shelves we’d love to see a picture of them. Feel free to share over on our Food Storage Made Easy Discussion Group on Facebook!
If you are just getting started with building a food storage and need a little jump start in knowing what to buy first, please sign up for our Babystep Checklist free email series. It will give you step by step instructions on what to buy and do week to week for a year!
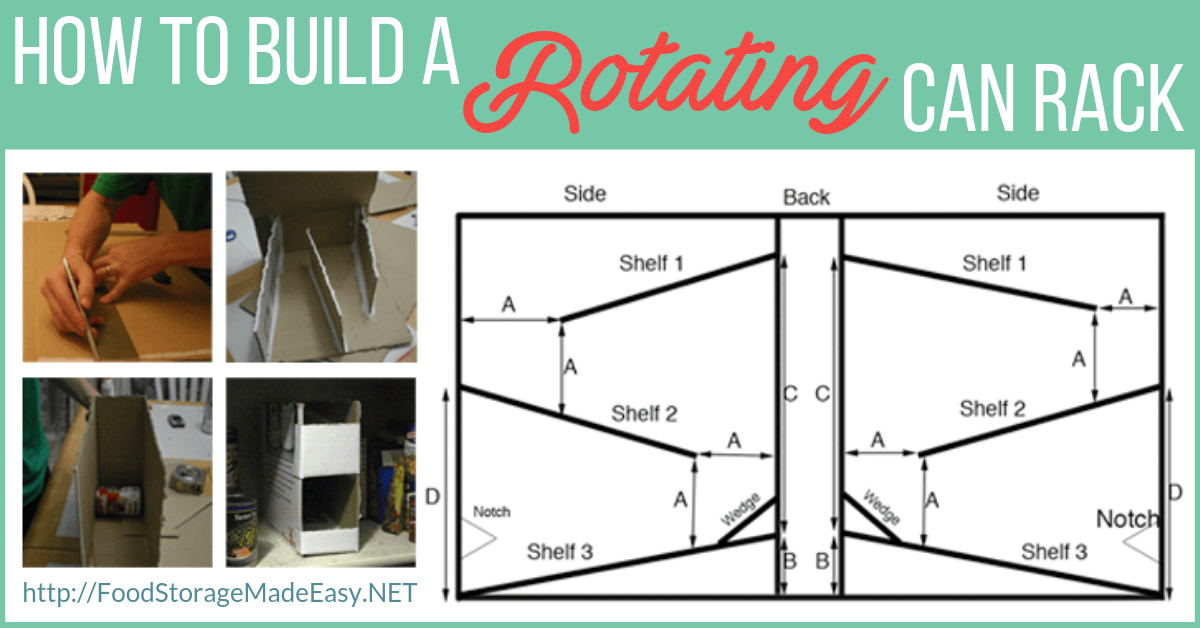
How to Build a Rotating Can Rack
Step 1
Print out the shelf diagram and determine what size of shelf you want to make. Click below for printable diagram and instructions.

Step 2
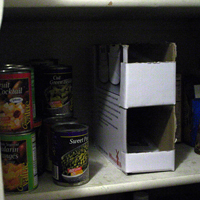
Take a large cardboard box and measure out the pieces. The easiest way with the least amount of cuts and gluing is to measure for the entire length of both sides and back. For example, the vegetable can length would be a total of 31-1/8” by 10”. We recommend using a carpenter’s square to measure, mark, and cut, but any ruler will work.

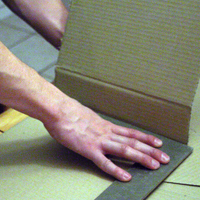
Step 3
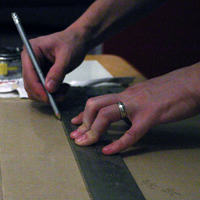
Cut out all of your pieces using an exacto-knife or other sharp blade. We couldn’t find our exacto-knife so that’s why we used this pocket knife. It didn’t make perfect smooth edges but it worked just fine. You could actually even use scissors if you want. If you used a long piece for the side/back pieces then you’ll need to bend the side pieces in to the right shape. We used our carpenter’s square (ruler) to help bend a straight line.

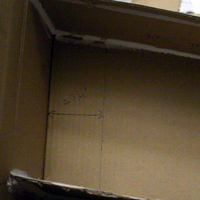
Step 4
Take the side and back pieces (or the one large piece) and make sure the can fits properly. If not, back to the measuring board! Mark the shelf lines on the side pieces so that you will know where the shelves need to go when you glue them on. All measurements will vary with the size of unit you’re building, so make sure to get them right!

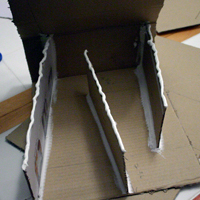
Step 5
Glue the pieces together. Hot glue is fabulous for this step! We used a low temp craft gun and the glue started to set a little too quickly, but it was still workable. With the big piece open, glue each shelf in place. Then glue them to the back. Don’t forget to put in your wedge, and make sure a can will still pass between the wedge and shelf 2. The other side is the hardest part, because with our gun the glue started to set before it was all in place. After the other side is on, take the front pieces, with the edges bent in ¾, and glue them into place, one side at a time.
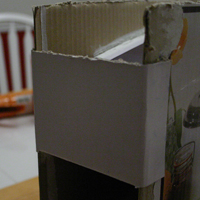
Step 6
Cut some little notches out of the side pieces near the bottom to enable you to pull the cans out more easily. At this point you can paint the whole thing with white latex paint if you want to strengthen the cardboard and have a nicer looking shelf unit.
Hope this little tutorial is helpful if you decide to make your own rotating can rack. They can be a great option until you can afford a sturdier more permanent solution.
Other Shelving Options
In case this task seems a little daunting, we do recommend a few options for shelves that you can purchase. These are worth a look at if you don’t have a lot of time or you want something a little sturdier.
 |
Cansolidators: Sturdy plastic rotating can rack from Thrive Life. These racks can be adjustable for any width of small to medium sized can. Available in three sizes and fit on a regular shelf or in a pantry. These are a little sturdier than the cardboard options. |
 |
Deluxe Food Rotation Systems: Thrive Life (formerly Shelf Reliance) produces high quality rotating shelves. They are customizable in any shape and size to fit everything from tuna cans to #10 cans and more! |
Here’s a pinnable image if you want to save for later!


-Jodi Weiss Schroeder
http://foodstoragemadeeasy.net