WARNING: This post is not really related to food storage, but it is what I have been busy with all week so I am posting about it here (plus it might be helpful to some of you!)
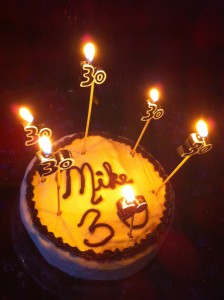
My husband turned 30 this year, sometimes you have to make a big deal over a birthday 🙂 I was especially happy over the fact that I am still a young wife in my 20’s so I had to rub in the fact that he is 30 a little bit.
Ever since he was a little boy, my husband’s mom always bought him a Baskin Robbins ice cream cake for his birthday. Well his birthday was exactly 10 days after our wedding and I faithfully went to try to buy him a cake and being the poor newlyweds that we were I left the store empty-handed and shocked at what they wanted to charge me. I decided I would try to make an ice cream cake for him to save us a ton of money. Here is how that first year’s adventure turned out.
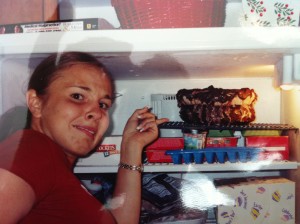
The next year I was so mortified by my previous cake that his sister offered to buy a cake as part of her present to him. A year later I decide to try again but this time I tried only icing the top so that I wouldn’t have the huge frosting melting down the side of the cake problem. It looked pretty funny but it wasn’t AS embarrassing.

After that someone told me that I just need to use a butter cream frosting for ice cream cakes. This also happened to be a year that we had tons of family coming for the party so I tried a rectangle cake after hearing that they were easier … FAIL.
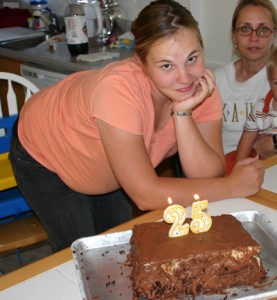
Well, FINALLY after eating a store-bought cake for someone else’s party one time, my husband and I analyzed the icing and realized the secret which I will share below. And by that time I had actually mastered the art of getting the cakes to turn out evenly so it all came together and I finally had success! It’s now been a few years and I can consistently get the cakes to turn out great every time. The only problem now is that as our family is growing the cakes are almost too small to feed everybody 🙁
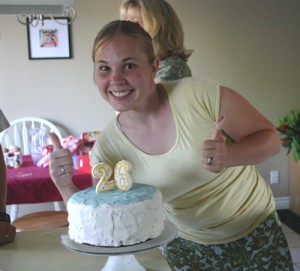
I hope you enjoy this picture tutorial I put together one year after I was actually able to get the cake to turn out properly!
How to Make an Ice Cream Cake
What you need:
– 2 9 inch round cake pans
– Devils food cake mix
– Cookies and cream ice cream (1.5 quart container)
– Vanilla ice cream (1 pint is enough)
– 1 tub of chocolate frosting (for decorations)
– Whatever candles you desire (optional, but recommended)
– At least 2 cans of diet coke (or other beverage of choice) to keep you sane while you work
Bake your devils food cake mix according to the box directions in your two round pans. Try to ignore the fact that my stove is filthy. My cleaning fairy was on vacation.
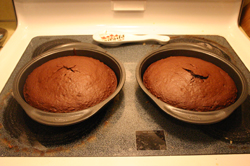
For some reason unknown to me, my cakes always have a huge hump on the top. Learning from past experience (see pictures above), layer cakes made out of humped layers do NOT work. So I take a bread knife and slice the humped part off trying to make both cakes as flat as possible. Take a minute here to wash one of the cake pans, you will need it later.
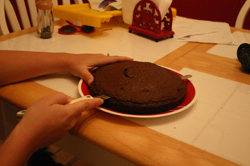
Place one layer of cake onto a cake plate. Take your tub of chocolate frosting and ice the entire top of this layer. Then take the second layer of cake and set it on top of the icing.
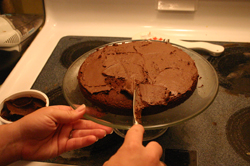
Take the combined cake layers and put them into the freezer for at least 4 hours, but overnight is better. You want the cake to be frozen solid, it’s yummier that way.
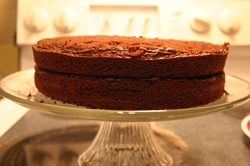
Let your cookies and cream ice cream sit out and melt for quite a while. You want it to be extremely pliable. Dump the entire carton into that cleaned cake pan and smooth it out until it is perfectly flat. Place the ice cream layer in the freezer for at least 4 hours but overnight is better. Now you can relax for a bit until we start phase two.
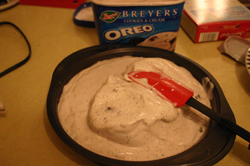
PHASE TWO – START EARLY THE NEXT MORNING
Remove the ice cream layer from the freezer. Fill up your sink about one inch full of hot water. Dip the ice cream pan into the water being careful not to let the water come over the top edge. This will loosen the ice cream enough that you can shimmy it out using a spatula. Don’t worry if it loses a little bit of its shape.
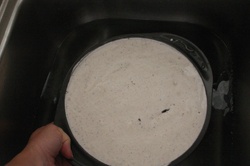
Carefully place the ice cream layer on top of the cake layers. It will be a little bit soft due to the hot water. At this point you should go around the edges with a spatula and make sure the ice cream layer doesn’t stick out too far over the cake layer. I even shaved some pieces off with a knife to get it just right. I think the cake contracts in the pan so it ends up being a bit smaller than the ice cream layer. Once you get it nice and even, put the entire thing back in the freezer to let it solidify.
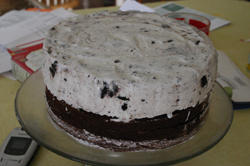
Here is the biggest secret. Once the layers are re-frozen and solidly in place, ice the entire cake with vanilla ice cream. Yes I’m serious. Let it get a little bit soft, and then mix in some milk until it is a smooth creamy consistency. It will be spreadable just like icing but it will actually stick to the frozen cake and ice cream. It feels like a miracle if you have ever tried to ice an ice cream cake with normal icing … You may have to pop the cake back in the freezer throughout this process if it gets too melty. And sometimes it needs more than one layer of vanilla to get the pure white without any of the brown cake shining through.
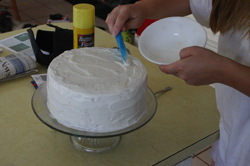
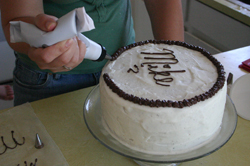
Add decorative icing to write and design whatever you want. Again, I am just using a standard tub of store-bought chocolate frosting. I’m also using my fun cake icing kit that I accidentally bought my husband for our anniversary the week before this. You can also buy the tubes of icing that come with the little decorative tips. Make sure not to put the decorations too close to the edge, sometimes they like to slip off the side.
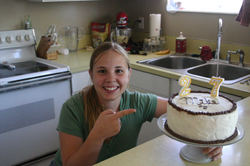
Here I am with the cake, fully decorated including the delightful number candles. I am awfully proud of myself as you can imagine based on the first 5 years of our marriage being cake failures. (See the picture at the top of this post for this year’s #30 cake complete with black decorative icing)
The final product! (Inside view)

How to Save Even More Money
So even though my cakes are significantly cheaper than Baskin Robbins’ cakes, you can make them EVEN CHEAPER if you do a little couponing. Cake mixes and frosting tubs are things that quite often go on sale and/or have coupons associated with them. You can get them for cheap cheap cheap. I have about 10 of each in my food storage so I never have to scramble when I’m asked to bring a dessert to an event. One of the best ways we have found to do sale shopping for these types of items is using Deals to Meals (available in the Western United States). With the case lot sales going on these next few weeks you better believe we have been using this service like crazy to stock up on a lot of three month supply foods and “comfort items”.
Oh and I also just have to say I used eggs from my own chickens to make the cake, that was a first this year!
Happy Birthday to my handsome, handy, 30-year old husband who is very supportive of my obsession with food storage and the need to spend WAY too much time blogging about it 😉

-Jodi Weiss Schroeder
http://foodstoragemadeeasy.net

