I have lots of memories of canning as a child, some good and some not so good. I loved sitting by my mom and chatting all day while we worked. I loved eating delicious canned peaches and homemade jelly. I didn’t love carrying the jars down the basement steps and having my brother trip me causing me to fall and break jars and cut myself on the glass (yes that’s the brother that Julie married, he’s much nicer now).
As an adult I have found that it really doesn’t save a lot of money to can things yourself, especially when you factor in the time spent. However, I do enjoy learning the process, practicing self reliance skills, and being able to control exactly what you put in the jars. Of course the flavor is always better than store-bought foods too!
This year I “accidentally” bought 5 boxes of peaches. It seemed like a great idea when I was standing at the peach stand. Needless to say it was a little more than I could handle alone. Luckily I had a few friends help me one night, and my awesome mom came and labored with me all day on Labor Day and we got sooooo much accomplished. I now have about 36 quarts of sliced peaches and 28 pints of peach jam to eat through this winter. Yippee!
I tried a few different thing this year and wanted to share what I did in case it helps you out as a beginner canner. Here is a basic photo guide of the process and the tweaks that I tried this year.
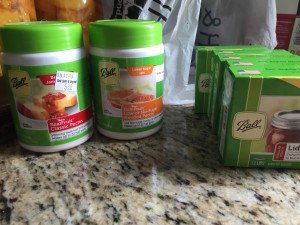 |
1. Buy your canning supplies
|
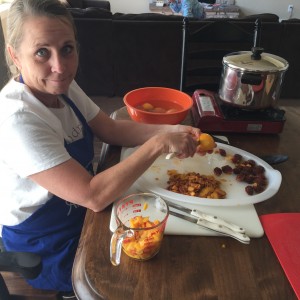 |
2. Blanch your peaches and core and peel them For this step I like to pull out an extra stove burner as my big canner plus the applesauce pot makes my regular stove pretty crowded. I used a butane stove that I set on my kitchen table close to where we were peeling and chopping. You can also try an electric hot plate. I bring a large pot of water to boil and dip the peaches in for about 30 seconds. Then immediately put them into a bowl of ice water and the peels will just slip right off! Follow the directions on your pectin box to determine how many cups of peaches to prepare. |
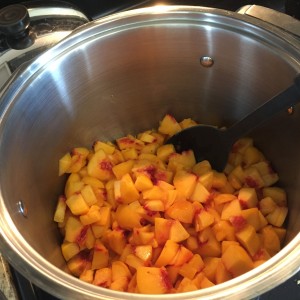 |
3. Prepare the jam For this step just follow the directions on the package. I like to puree the jam so it’s not too chunky, but my hand blender was broken so I ended up mashing it with a potato masher. It didn’t get as pureed as I would normally like but it was still delicious. This step is the one that varied a lot. Here are two things we tried. Regular pectin: This calls for a TON of sugar. I considered using less but didn’t know if it would set up properly. We did the recipe as indicated on the bottle and it worked great. Low- or no- sugar pectin: This recipe calls for some 100% fruit juice (no sugar added). I didn’t have any on hand so I opened a few cans of crushed pineapple and poured them in with the juice included and then only used a tiny bit of sugar. You can use none but that made me worried my kids wouldn’t like it. It made a delicious tropical kind of jelly. We loved it and it set up just fine! Old pectin: I had two boxes of pectin that were very old. Like expired in 2012 kind of old. I tried doing one batch using old pectin to see if it actually makes a difference if it is expired. This batch did not set up at all. It is really runny but still tastes great. It makes a nice topping to pour on ice cream or pancakes but is not good to spread on bread. So don’t use expired pectin! |
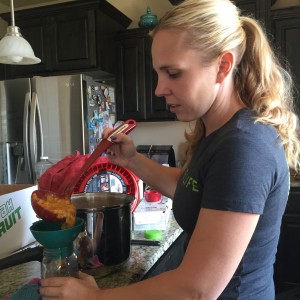 |
4. Pour jam into jars and add the lids The key here is to keep everything sterile. I stuck all the jars into the dishwasher beforehand. I boil the lids and rings in a small pot. I poured all the jars nearly full to the top using my special canning funnel. Then I wiped the edge of the jars with a clean paper towel. I used clean tongs to put the lids on and then secured with the clean rings. If you use the tattler reusable lids make sure to follow the directions on the package as you do the lids and rings slightly different for those. |
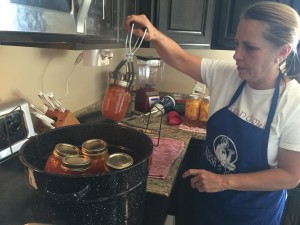 |
5. Process your jam! This is the easy part! Put your jars into your water bath canner and process them for 10 minutes. If you are canning with a long-time canner they may be surprised that you have to can the jam. My mom was taught that you just put the hot jam into the jars and the lids will seal because of the heat and that is good enough. All of the canning books and pectin packages do indicate that you should still water bath can jam to be sure it is properly processed for long term storage. p.s. Isn’t my mom the cutest? I kinda love her! |
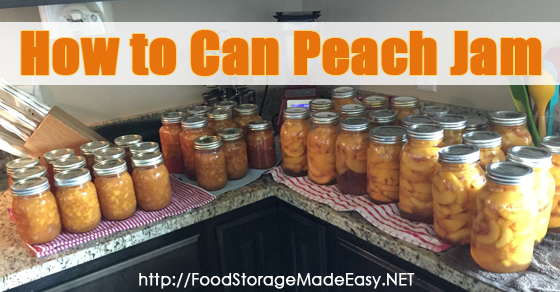
And the final result? A whole lotta peaches!!!

-Jodi Weiss Schroeder
http://foodstoragemadeeasy.net

