Today we’re very excited to show you some before and afters of our Food Storage Makeover on the “Green Smoothie Girl”. We even got a video of the whole thing so make sure you read to the bottom. Robyn from Green Smoothie Girl is one of our long time heroes. We were introduced to Robyn’s blog years ago and we credit her for a lot of the healthy eating habits we have made over the years. Robyn also happens to be a fellow blogger we are working with on a campaign called blendaid to to build a school for AIDS-orphaned kids in Africa through Mothers Without Borders.
During the summer we were meeting with Robyn and she asked us if we could get someone to come over and redo/makeover her food storage. Robyn has always been a believer in food storage, however last time she moved homes, a lot of it was actually stolen by the movers. She also hasn’t been able to keep up with it because standard food storage foods don’t coincide with her healthy eating lifestyle. We told her we would love to help her with this project and get her hooked up with some foods that would make sense for her lifestyle. You see anyone can do food storage, it just takes a little thinking outside the box.
A few weeks later we went to Robyn’s house, made a plan, and voila! A food storage makeover we’re excited to share with you today!

Green Smoothie Girl Food Storage Makeover
Step 1: Inventory
The first step was for us to get together with Robyn and make a plan. We inventoried what she already had and found out what her goals were. Each and every household has different needs, budgets, and goals for their food storage. As long time followers and fans of Robyn’s blog we weren’t surprised to hear her tell us she wanted to stay away from certain kinds of foods. We also weren’t surprised she wanted a lot of vegetables and fruits in her food storage.
Robyn had a really great start on her food storage. The holes she had in her plan was from foods the movers had stolen and from not knowing how to store vegetables and fruits long-term. She even had a Thrive Food Rotation Shelf that was empty (and ready for some food). She did however have PLENTY of toilet paper! We maybe teased her a little about that one. Robyn also had a great supply of her very own protein powder and other nutritional foods. She had great 72-hour kits in her garage but very little water storage.
Step 2: Make a plan
Our plan was to get Robyn’s garage set up as her emergency prep zone with 72 hour kits, powerless cooking, water storage, and an evacuation station. The basement was designated for all her food and non-food toiletry type items.The main things we found she would need was powerless cooking tools (Sun Oven, Helius), water storage containers and filters, and freeze-dried fruits and vegetables. Robyn had some healthy sugars, fats, and grains already. Since she relies so much on fresh fruits and vegetables in her diet she hadn’t figured out the solution for that. In came Thrive freeze-dried fruits and vegetables. If you’re not already aware of the health benefits of freeze-dried fruits and vegetables you can learn more about it on our Thrive page HERE. The best part is you can even use a hand crank blender and have green smoothies in an emergency!

Step 3: Purchase the products:
Purchasing the products was probably the easiest step in the process because we knew exactly where to go for everything. Through our Food Storage Made Easy Store and shopping Thrive’s Delivery Service we knew we were getting Robyn the best pricing and quality products. We had some things ship directly to Robyn and we picked up her big Thrive order for her big EMPTY Food Rotation shelf. We timed it all to come in around the same time so we could go over there with everything we needed to complete this super fun transformation.We know that buying everything at once is not realistic for everyone. We have our Food Storage Made Easy ebook that breaks things up, and you can also sign up on the Thrive Monthly Delivery Service to get your foods delivered to your door on a monthly budget.
Step 4: Re-arranging the room/garage
You can see up in the before picture the two metal shelves Robyn had were close together and hard to navigate around. It felt more like a crammed row of shelves than a room. Also the Food Rotation shelf Robyn already had was in a separate area of the storage room and not accessible due to buckets blocking the way. It was empty so it didn’t really matter that it was not accessible. Other buckets were placed somewhat scattered around. We opened the row of shelves, moved the Food Rotation shelf over into the main room and put all the buckets in the other area where the Food Rotation shelf was.
In the garage we sorted through the miscellaneous things and made designated areas for like items. We now had a sports area, emergency prep/water area, and misc area.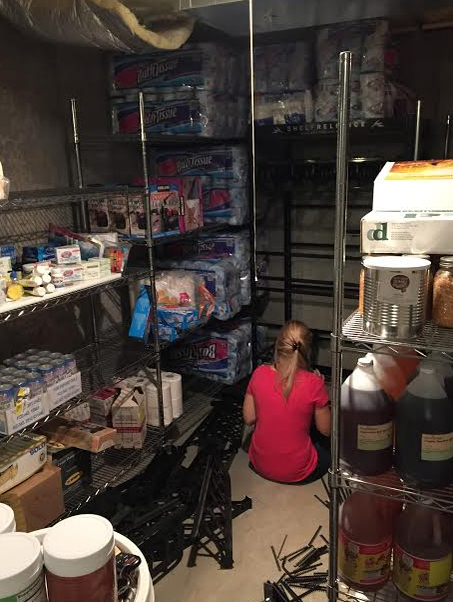
Step 5: Stocking the shelves
Finally! This was the FUN part. We even had our kids help a little with this. Having lots of hands made it a little easier. We moved everything off shelves, put like objects together in the food storage room, put glass items on bottom shelves, lighter items up top etc. We also got everything in the garage placed on the shelves.

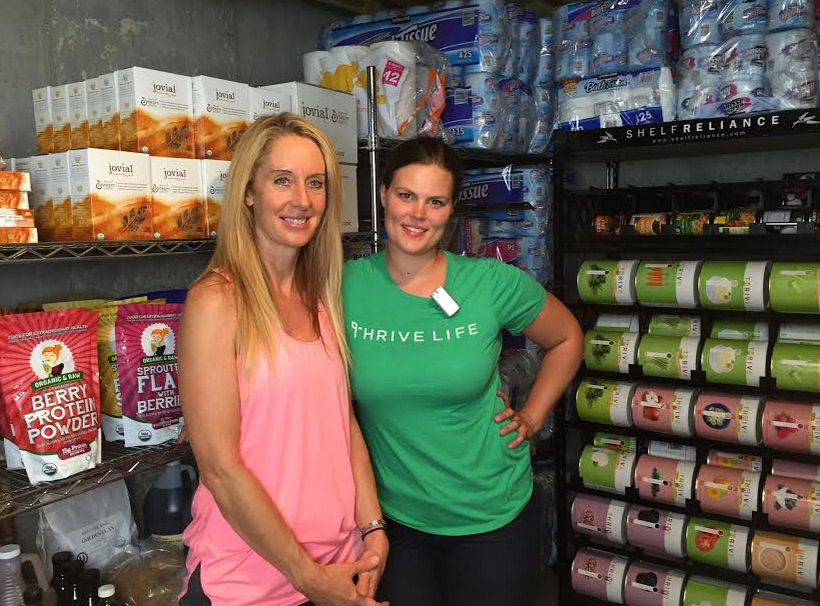
And then it was time for the reveal… Robyn loved it! This is Robyn and Julie after she saw it for the first time!
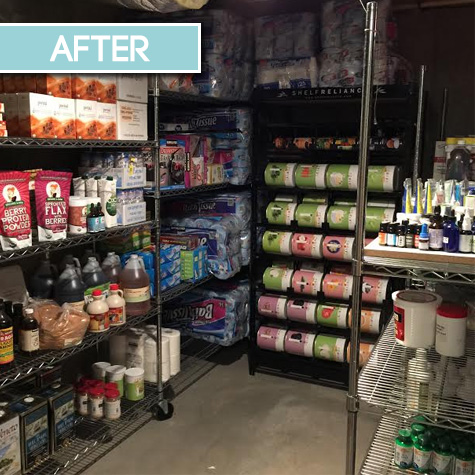
Check out our video to see the process as well as the big reveal with Robyn!
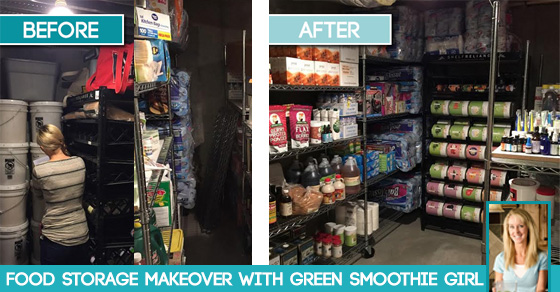
*Disclaimer: While it would be super fun for us to do these types of makeovers for everyone, it’s not something we do outside of close friends and family members. We have a bajillion kids between the two of us. We will however be holding a FREE webinar on how to plan your year supply of food in a couple weeks.

-Jodi Weiss Schroeder
http://foodstoragemadeeasy.net


