
A few months ago I was preparing to travel abroad with my son for his senior trip. I posted in my Facebook group asking for tips on preparedness for international travel. Emergency preparedness while traveling is such a tough topic because you have limited space. Yet you have an unlimited amount of possible emergencies that […]
CATEGORY: Emergency Preparedness
Learn all about all aspects of emergency preparedness beyond just storing food. We cover topics ranging from 72 hour kits to emergency sanitation, how to prepare for specific emergencies and more.
If you are just getting started I recommend first getting your basic emergency plan put together which includes a 72 hour kit and emergency binder, car kit, and evacuation plan.
↓ Browse all Emergency Preparedness posts below ↓

72 Hour Kits for College Students
Are you worried about sending your grown-up kids off to college without all the necessary “emergency” preps? I got my son set up for living on his own but didn’t really leave him with a good 72 hour kit. We also didn’t have much discussion about evacuation plans while in the dorms. When he came […]
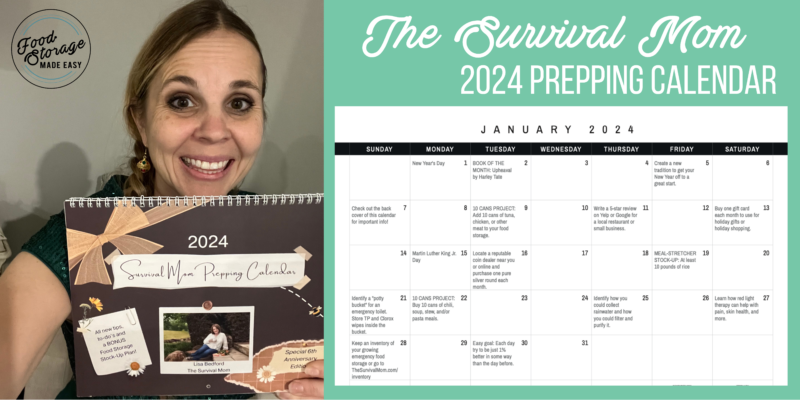
Survival Mom 2024 Prepping Calendar
For the past five years I have gone through the Survival Mom Prepping Calendar and LOVE doing all the tasks and reading the monthly book recommendations. I usually start out pretty strong but fizzle out a little by the end as life gets busy and I forget about staying on top of it. This year […]
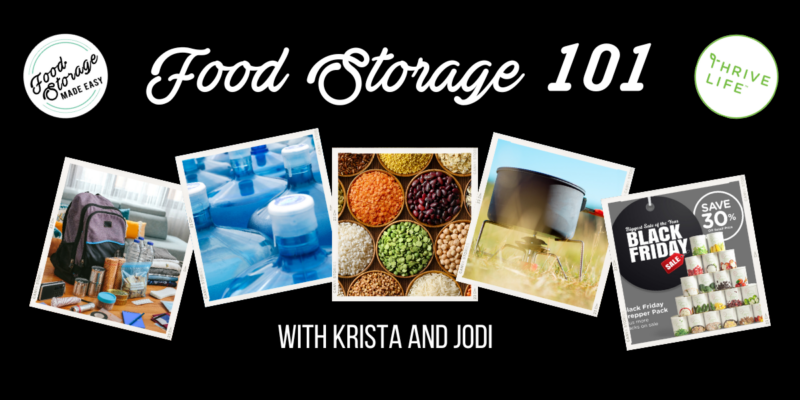
Food Storage 101 Class
My friend Krista and I hosted a food storage zoom class for beginners this week and it was so fun! We usually do a cooking demo once a month but this is the first time we’ve dived into teaching about preparedness together. If you would like to see more classes like this or have me […]

Do You Need a Will or Trust?
A few days ago I posed a poll question in my Facebook group and the answer was pretty surprising for a group of preparedness minded individuals. Here is what they had to say when asked if they have a current will or trust: Estate planning has been on my mind a lot lately because I’ve […]
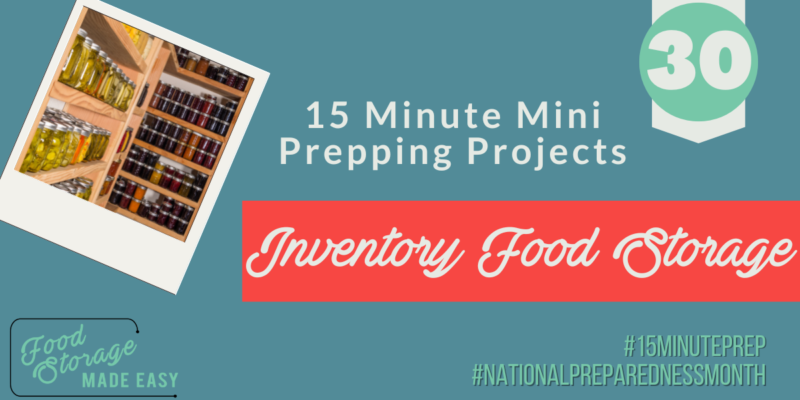
Day 30: Inventory Food Storage (15 Minute Prepping Projects)
Welcome to DAY 30 (THE LAST DAY!) of our 15 Minute Prepping Projects series. Today for our final project we are going to do a full inventory of our food. You may not finish it all today, but you can sure get a start in fifteen minutes! Every day for the month of September we will […]
 Hi there! I’m Jodi. I share my preparedness adventures via the blog and social media so you can see what I’m working on day to day.