
Are you worried about sending your grown-up kids off to college without all the necessary “emergency” preps? I got my son set up for living on his own but didn’t really leave him with a good 72 hour kit. We also didn’t have much discussion about evacuation plans while in the dorms. When he came […]
Emergency Preparedness

How to Grow Easter Wheat Grass
I first did a post about how to grow wheat grass for easter about 12 years ago on the blog. My two biggest kids were tiny and my younger two weren’t even born yet. It’s been fun to watch them grow up on my blog and crazy to think how long we’ve been doing this! […]
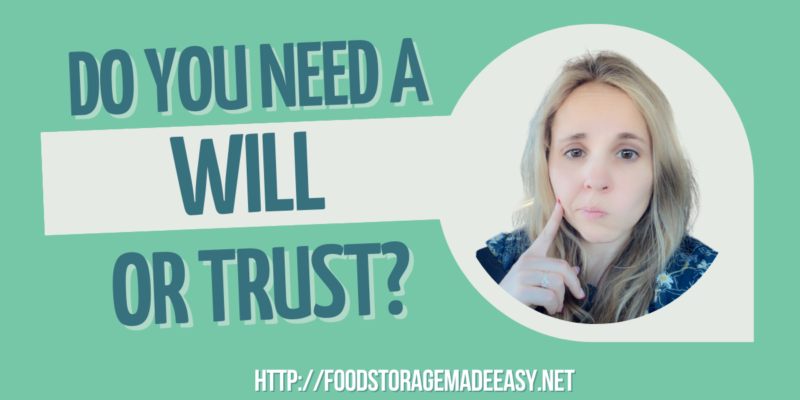
Do You Need a Will or Trust?
A few days ago I posed a poll question in my Facebook group and the answer was pretty surprising for a group of preparedness minded individuals. Here is what they had to say when asked if they have a current will or trust: Estate planning has been on my mind a lot lately because I’ve […]

Weekly Prepping Calendar
If you have followed our blog you’ll know that we LOVE to take bite-sized babysteps in order to get more prepared. We have checklists that walk you through building up your year supply over a one year period. Many of our readers have loved getting these bi-weekly reminders to help them with their food storage […]
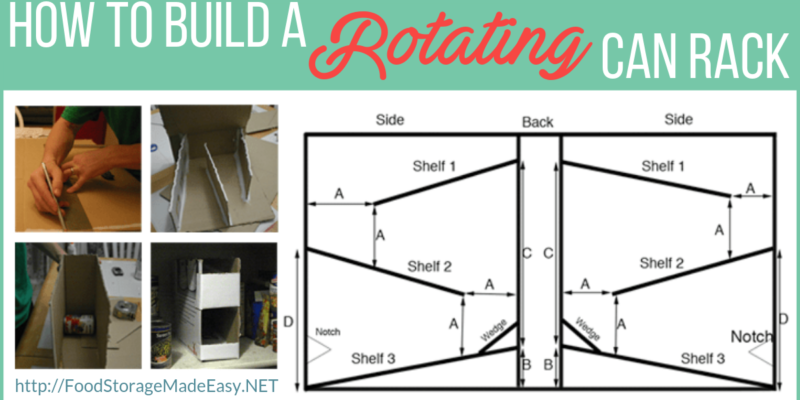
TUTORIAL: How to Build a Rotating Can Rack
Want to make the most out of your shelving space but don’t have room for a large rotating can rack? Building your own rotating can rack (or a set of them) out of cardboard may be the perfect solution for you! These can be customized for different can sizes and if you are really creative […]

PREPAREDNESS SPRING CLEANING ZONES
Do you have a standard spring cleaning list? You may want to add some of these preparedness tasks to your list this year.
 Hi there! I’m Jodi. I share my preparedness adventures via the blog and social media so you can see what I’m working on day to day.