The other day my cousin Emily went to a church activity and they did a workshop on how to make a 72 hour kit using an empty milk jug! I have been stuck on trying to figure this out so when I saw her sheet I knew it was the kick I needed to just put something together. I don’t have a whole disaster kit put together yet but this is something I can do that I can easily grab and go in an emergency. It will do until I have the chance to put together something more robust.
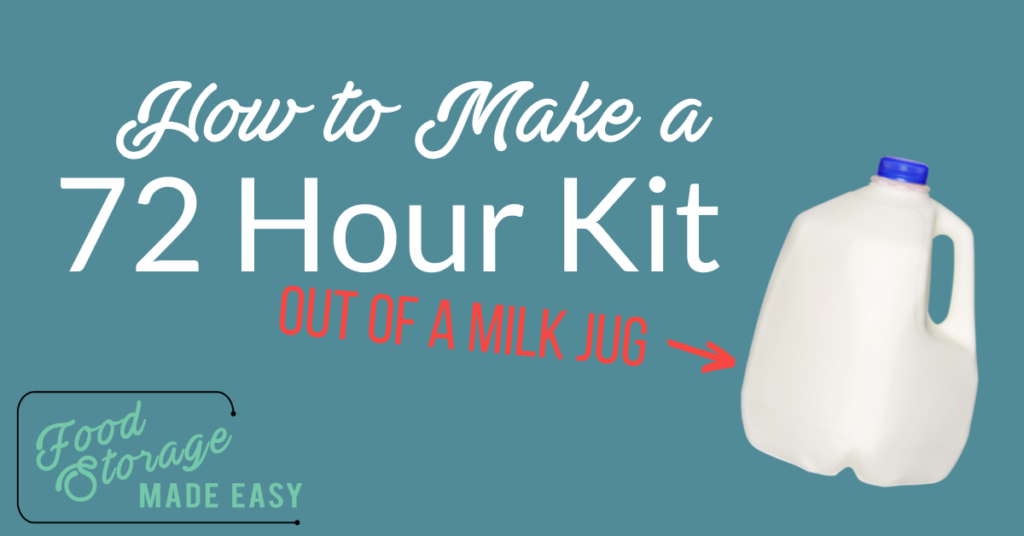
How to Make a 72 Hour Kit: Instructions
Step 1 – Make sure you have saved 1 milk jug and 3 2-liter bottles per person. Also, wash them all out thoroughly with soap and let dry. We don’t want our kits being stinky!
Step 2 – Multiply the number of kits you want by the items listed in the shopping list and purchase the food items from Walmart or your neighborhood grocery store. Surprisingly, all the food only cost around $8-10 at the time of this writing.

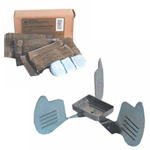
Step 3 – Purchase a small esbit stove and fuel pellets from a camping or emergency supply store or Amazon if one isn’t available in your area follow the links below to order online. Since only one stove is NECESSARY per family, you can just include one and then have enough fuel in each kit. But they are pretty cheap so if you’d like to have one per kit that is fine too. It will make it much more convenient in a true emergency because you won’t all be waiting on one stove.
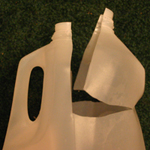
Step 4 – Cut straight down the middle of a milk jug diagonal from the handle. Go about 1/3 of the way down. Then, at the bottom of that cut, make a horizontal slice coming from each side. But leave about 2 inches of the jug intact. This should make a sort hatch that you can pull open and insert the items in. Watch our video below if you are having trouble visualizing how to do this.
Step 5 – Place the necessary items into each milk jug according to the contents list. Put the Tang and cocoa servings into small zip-lock bags (1/4 c. per serving). If you have extra food left over, stick it in as space permits. Tape the milk jug up. Tape the contents list to the outside of the jug and record today’s date and the family member who will use that kit. VOILA!
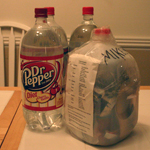
Step 6 – Lastly, fill your 2 liter bottles with water and store all of the items in an easily accessible place. Check out our Step 2: Water page for more information on how to properly store the water.
How to Make a 72 Hour kIt – Instructional Video
Resources
 Printable Shopping List
Printable Contents List
Outtakes video (HILARIOUS!)
Purchase Esbit Stoves and pellets online
View updated Disaster Kits page for current info
Pin to save for later!

-Jodi Weiss Schroeder
http://foodstoragemadeeasy.net