Depending on where you are in your food storage journey, you may or may not have considered adding canned meats into your storage plans. When I started to work on my three month supply, I realized there were very few meals in my regular cooking that are purely shelf stable. It seemed boring to just have chili or spaghetti for every meal in my plan, and I wasn’t getting all of the benefits of stocking up on my regular foods. I decided I would count freezer foods in my three month supply planning, and that helped a little bit. But over time, especially as I’ve gotten more comfortable with powerless cooking, I’ve realized that I would really like to have some better shelf stable meal options just in case of a powerless emergency.
Last month I experimented with pressure canning ground beef for the first time … and this month I ventured into the world of pressure canning chicken. It was soooo easy! For a quick review on pressure canners, view our post on pressure canners versus presser cookers. Then come on back and see how easy pressure canning chicken is!
How to Pressure Can Chicken: Raw-Pack Method
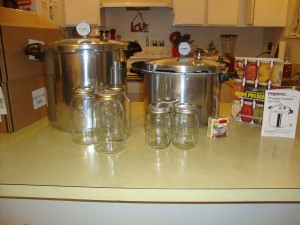
All the tools you need to get started!
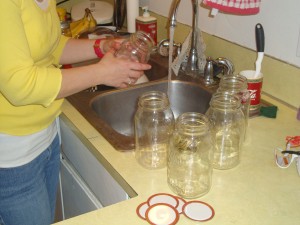
Step 1: Wash all jars, lids, and rings. No need to sterilize them for pressure canning. Keep them at room temperature.
Step 2: Start water boiling to fill the jars with.

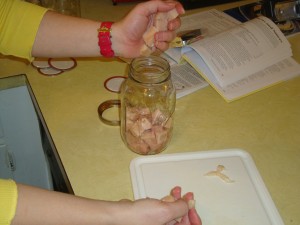
Step 3: Cut up frozen chicken into bite-sized pieces. (Let it thaw for just a little bit so it isn’t TOO rock hard)

Step 4: Throw the chicken into jars, fill it all the way to the very top.
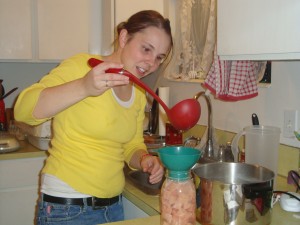
Step 5: Fill each jar with hot water leaving 1 inch of open space at the top of the jar. Poke down any chicken that is sticking above the water.
Step 6: Put all the jars into the pressure canner and pour in 3 quarts of boiling water.
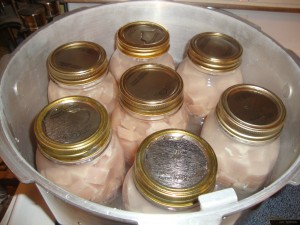
Step 7: Place lid on the pressure canner and turn up the heat on your stove. Allow steam to vent out for ten minutes before placing on the pressure regulator.
Step 8: Bring the pressure up to the correct amount for your elevation (mine was 13 pounds pressure). Process for 75 minutes for pints and 90 minutes for quarts.
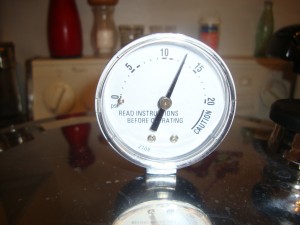
Step 9: Remove the pressure canner from the stove and allow pressure to come down naturally. This can take a long time so be prepared to wait. Remove the pressure regulator from the vent pipe, wait 10 more minutes.
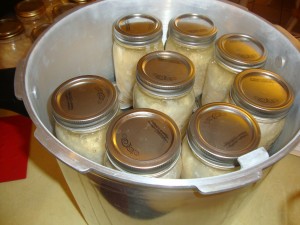
Step 10: Remove jars from canner and allow to cool. Then check the seals, label them with the date canned, and ENJOY!
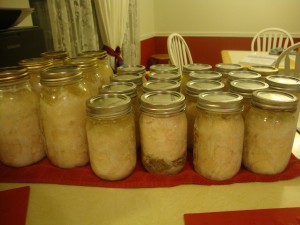
Please note: I followed the directions in my manual and in my Ball Canning Guide. Your manual may be different so make sure you double-check before you do this on your own!

-Jodi Weiss Schroeder
http://foodstoragemadeeasy.net

