A couple of years ago I posted about How to Organize Your Recipes as I was creating a recipe binder for my first little sister to get married. Fast forward two years to my next little sister’s wedding and I updated the whole system and gave her a recipe gift too. Since I tweaked my system I thought I’d share what I do now in case it helps you with YOUR recipe system. I love this for my own recipes and it makes it SO easy to share with family and friends.
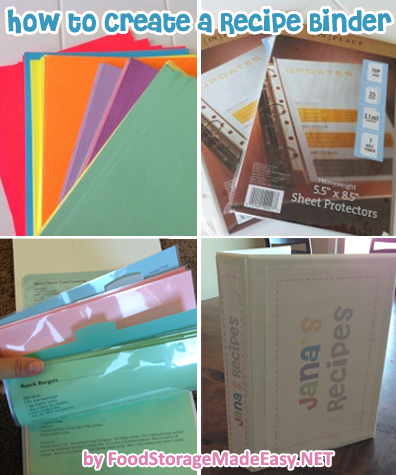
Step 1: Buy a binder
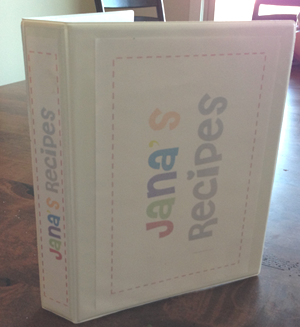
I like to use the 1/2 size binders as they are a little bigger than recipe cards but don’t take up much space in your cupboard or on your counter. If you get the kind with a clear plastic coating you can slide in cute covers and side labels 🙂 You can do all your recipes in one binder or split them up into main dishes/side dishes/desserts/etc.
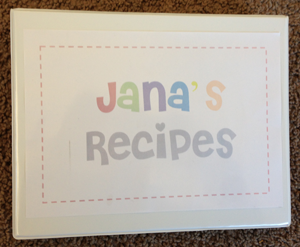
Step 2: Buy paper or cardstock
You can use plain white paper or cardstock, but I like to color code based on categories. I buy my paper depending on the color combination I want for that particular binder. Cardstock will be sturdier, but paper will make your binder not as fat and heavy.
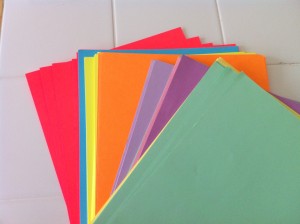
Step 3: Buy 1/2 size sheet protectors
These used to be a little bit hard to find but lately I’ve been finding them at most office supply stores or even at Wal-Mart. You can also buy them online if you are having trouble finding them in your area. They are a little pricier than full-page protectors but I LOVE the half page size. They are perfect to keep on the counter and you can fit a lot of recipes in one binder. Note: I also bought little section dividers but they are a bit silly since the page protectors stick out further than the dividers. But they add a little separator and they look cute so I left them in.
Step 4: Create your recipe database
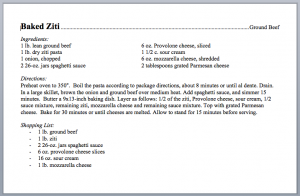
This can be a little bit tricky, and is the main thing I have changed since the last time I did this project. All I do now is set up my word document as a giant table. There are two cells per page and I put one recipe in each cell. This keeps the file formatted perfectly and you can print it like regular. Hint, start the recipe on the bottom half of the page down one line extra and that will keep the margins and spacing even when you print and cut them.
I like to put the category name at the top of the recipe, and I also have made little notes on each recipe to indicate which items are food storage items versus ones I would buy fresh at the grocery store. This is a new addition I made for my own binder that helps me with my meal planning each month. For my sister, I made a copy of JUST the recipes so she doesn’t have to see all my “food storage” notes.
If you’d like to see the recipe file, you can download it by clicking the recipe image below.
Step 5: Put it all together!
Print each category separately so you don’t get the colors mixed up. Use a scrapbook paper cutter or scissors to cut your pages in half and slip them in the page protectors. I made a “cover page” for each food category so I make sure to put that in the front of each section. I also added notes on my cover sections for easy meal ideas that there are not actual recipes for. This helps with meal planning too.
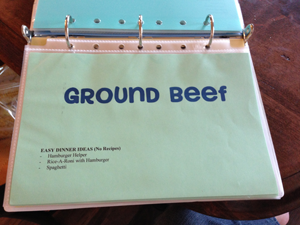
I also uploaded a copy of the page I used to make the cute cover and side label. You can download that by clicking here. The font is called CHERI and you can search for it and download it to your computer if you want to use it.
This is the best system I have found for keeping track of my recipes. I LOVE being able to write notes on the pages with a dry-erase marker and updating the file with it every few months. I love being able to add recipes from my favorite cookbooks so I can have them all in one place, and easily be able to share my favorites with my sisters. And I especially love that I get to help my little sisters get started in their own cooking adventures in an easy to assemble, yet meaningful gift.

-Jodi Weiss Schroeder
http://foodstoragemadeeasy.net

