Welcome to the 2024 7 Day Challenge. For 7 days, we are testing our Emergency Preparedness and Food Storage Plans. Each day will bring about a NEW mini challenge that will focus on a different aspect of our preparedness plans. In order to receive each day’s emergency scenario in your email please sign up for the 7 […]
Uncategorized

7 Day Challenge Day 4: Pet Preparedness
Welcome to the 2024 7 Day Challenge. For 7 days, we are testing our Emergency Preparedness and Food Storage Plans. Each day will bring about a NEW mini challenge that will focus on a different aspect of our preparedness plans. In order to receive each day’s emergency scenario in your email please sign up for the 7 […]
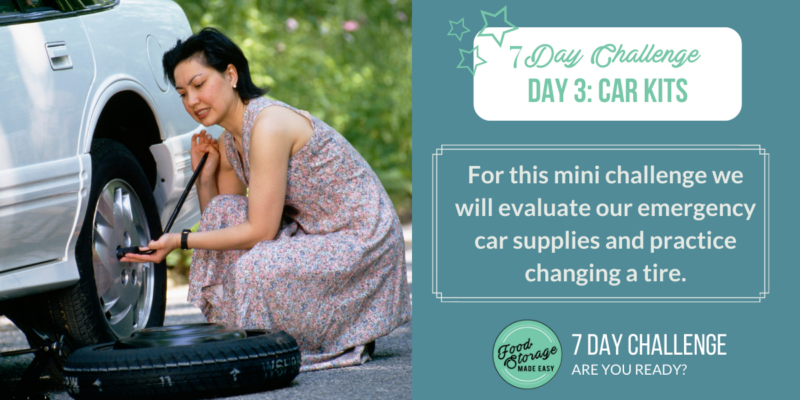
7 Day Challenge Day 3: CAR KITS
Welcome to the 2024 7 Day Challenge. For 7 days, we are testing our Emergency Preparedness and Food Storage Plans. Each day will bring about a NEW mini challenge that will focus on a different aspect of our preparedness plans. In order to receive each day’s emergency scenario in your email please sign up for the 7 […]
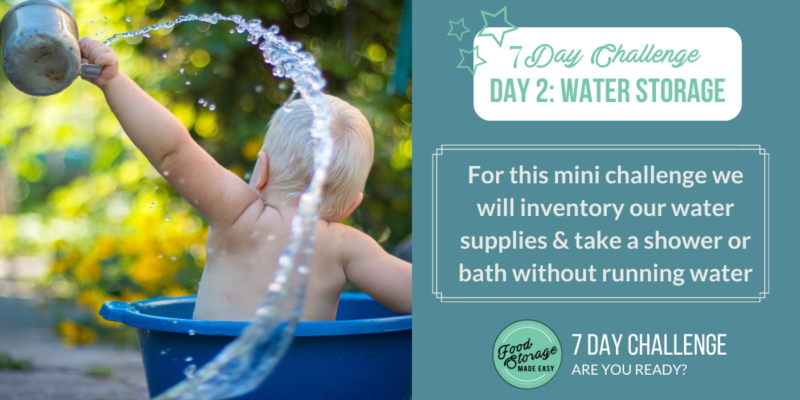
7 Day Challenge Day 2: WATER STORAGE
Welcome to the 2024 7 Day Challenge. For 7 days, we are testing our Emergency Preparedness and Food Storage Plans. Each day will bring about a NEW mini challenge that will focus on a different aspect of our preparedness plans. In order to receive each day’s emergency scenario in your email please sign up for the 7 […]
Spring Clean Your Food Storage DAY 7: 72 HOUR KITS
We did it! We made it through the 7 Day Mini Challenge and hopefully our food storage areas are a little cleaner, more organized, and we have a game plan for the holes in our preparedness plans. Today will be working on our final task and for this one we will be spring cleaning our […]
Spring Clean Your Food Storage DAY 6: COOKING & FUEL
We are getting close to the end! Is your food storage looking so clean and organized? For today’s mini challenge we are going to look at our powerless cooking supplies because what is the point of having a food storage if you have no way to cook it, am I right? -Jodi Weiss Schroederhttp://foodstoragemadeeasy.net
 Hi there! I’m Jodi. I share my preparedness adventures via the blog and social media so you can see what I’m working on day to day.